

Registering a Programme
In this section of the manual, we will learn how to register a new programme in EnaCast and configure it so that it is recorded and published automatically according to the established schedule.
Registering a New Programme and Setting Up Automatic Recording
Section titled “Registering a New Programme and Setting Up Automatic Recording”Open the management panel at ramen.enacast.com with the credentials the team gave you. In the sidebar, under Content, open Podcasts and click New Podcast in the top right.
The new programme profile will then open, and you will need to fill in the following information:
- Programme name
- Short description, to provide context within the schedule grid and in the podcast repository
- Icon or representative image, preferably square (this can be the programme logo or an identifying image)
Optionally, you can add the full link to the Twitter (X) profile of the programme or the station, if you want it displayed on the website.
The status and visibility section of the form has two toggles, on by default:
- Allow Episode Downloads: shows the download button for this program’s episodes on the public site and the WordPress plugin.
- Publish RSS Feed: generates the program’s podcast RSS feed and shows the subscribe buttons.
They only take effect when the station also has them on in Station Settings; when the station has switched them off, the form says so.
The same section has the Hidden program switch, off by default. A hidden program does not appear in any list or in the search of the public website (the programs page, the sidebars, the home page modules, the sitemap and the search box), but its page, its episode list, every episode and its RSS feed keep working for anyone who has the link, and its pages ask search engines not to index them. Think of an “unlisted” video: it suits programs you only share by direct link or embed in news articles, such as audio clips. It is not a way to protect content: what must not be public is unpublished episode by episode (hidden episode or a future publish date).
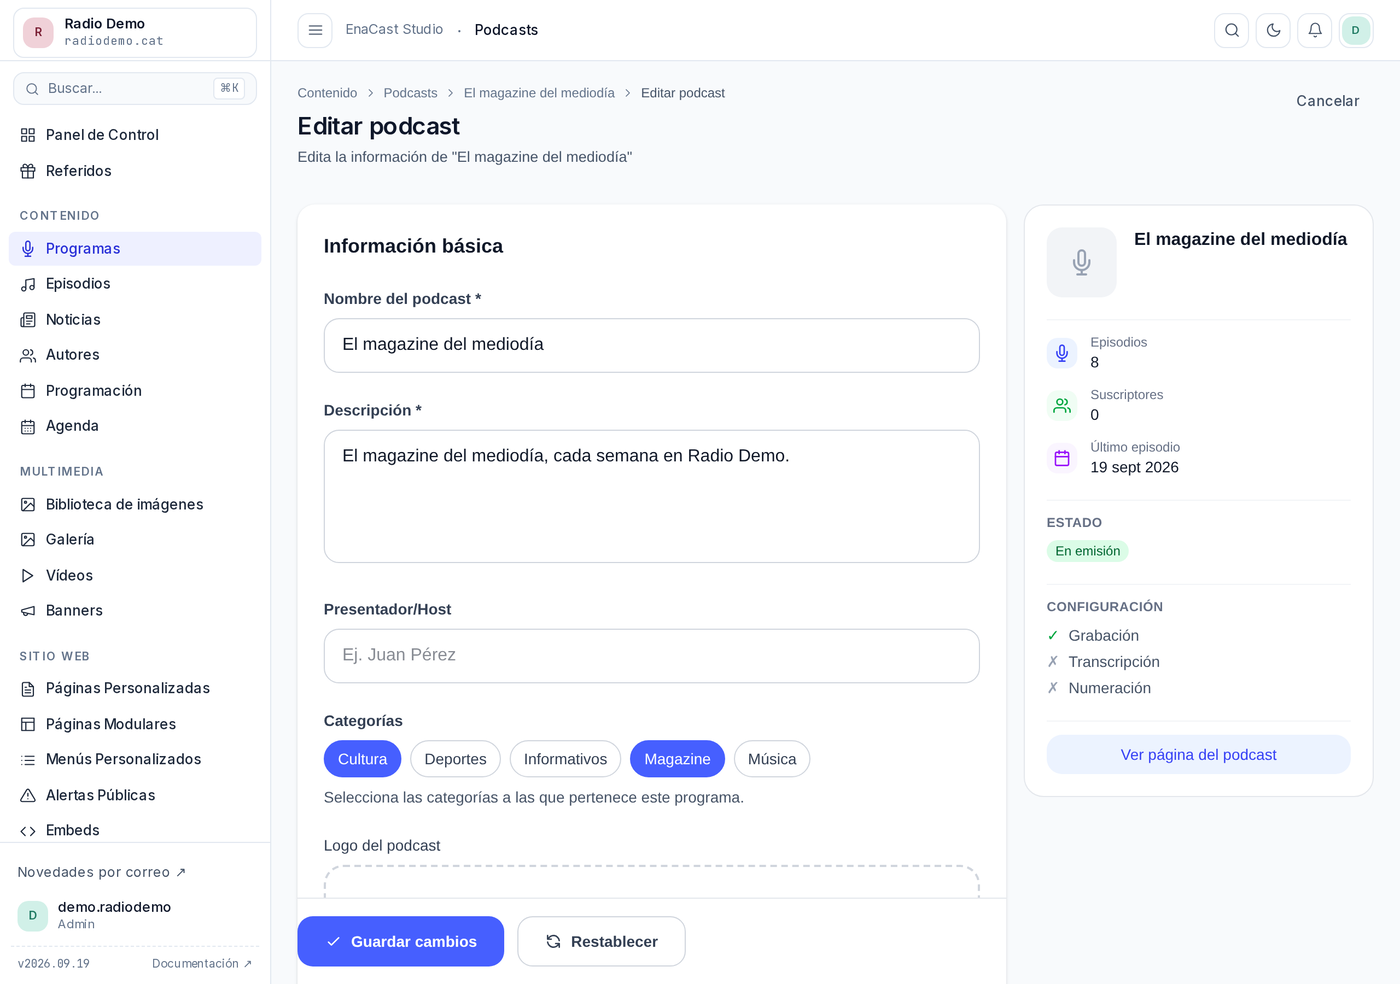
Further down the programme page, the Regular sections card lets you declare the segments that come back every week, or let the AI detect them; the arrow icon View on website opens each section’s public page. See Regular sections.
Next, you need to configure the broadcast time or times for the programme. This configuration is essential, as it allows the programme to:
- Appear automatically on the website’s programming schedule
- Be recorded and published automatically as a podcast once the broadcast has ended
Setting Up Automated Recordings
Section titled “Setting Up Automated Recordings”Broadcast schedules are managed from the ramen.enacast.com panel. There are two routes, and both open the same form:
- From the programme’s page: Podcasts → your programme → Broadcast Schedule card → New Schedule. The programme is already selected.
- From Schedules in the sidebar → New Schedule, picking the programme in the dropdown.
In the form, with Schedule Type: Regular Schedule, you must specify:
- The Days of the Week the programme airs on
- The Start Time and the End Time (the Duration is worked out for you and shown underneath)
- Periodicity: Every week, or every 2, 3 or 4 weeks
You can tick several days at once: on save, one schedule is created per day, which you can then edit or delete separately. A programme airing Monday to Friday will have five schedules.
If on any of those days the programme is a repeat, tick the Is a Repetition checkbox. This tells the system that the content should not be recorded again, but rather a previously recorded edition is simply re-broadcast; the schedule still appears on the website grid.
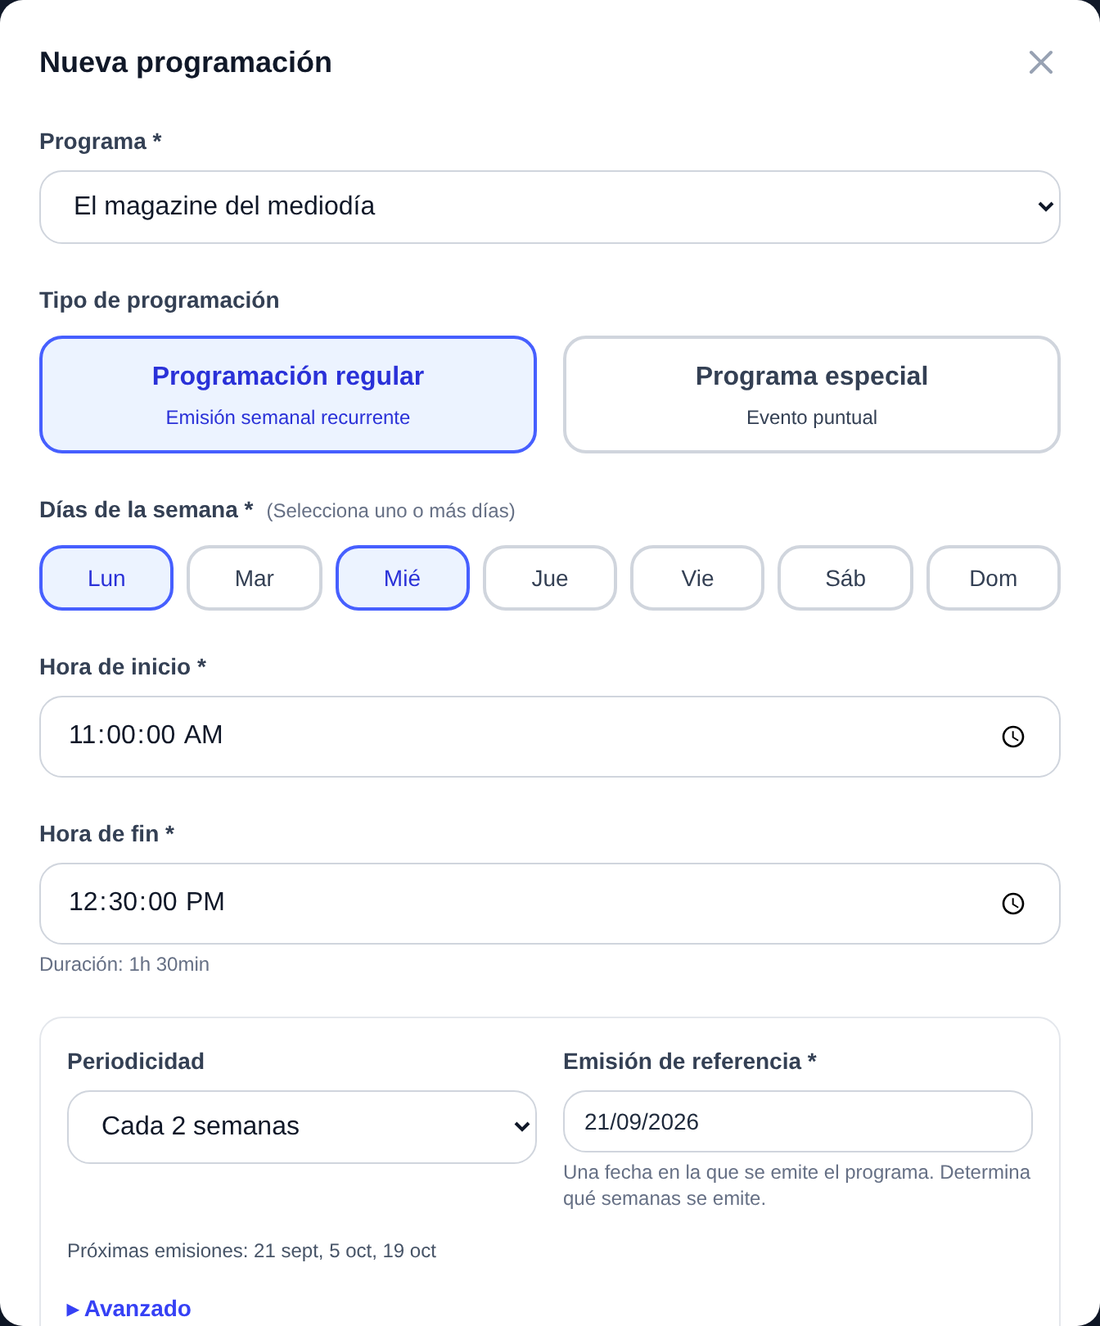
The scheduling and timetables guide explains every field in detail.
Advanced Schedule Configuration Options
Section titled “Advanced Schedule Configuration Options”Each schedule allows you to configure advanced options on an optional basis, to better adapt to the needs of the programming:
Specific Description Per Schedule
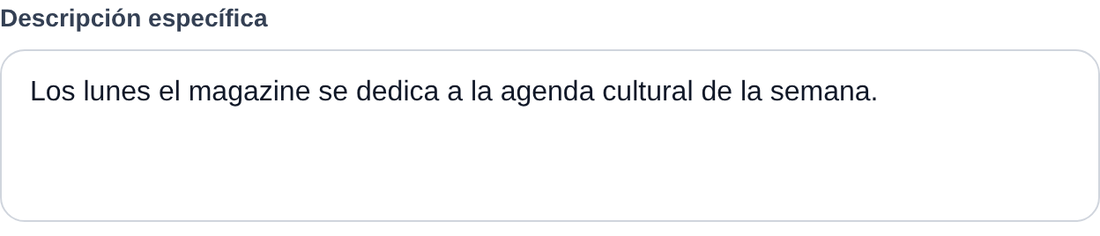
Section titled “Specific Description Per Schedule”You can add a specific description for each schedule. This is useful for programmes such as magazines, where the content may vary depending on the day of the week. For example, you can indicate that Mondays cover local news and Tuesdays cover sports.
Periodicity and Skip Dates
Section titled “Periodicity and Skip Dates”If the programme doesn’t air every week, choose the matching Periodicity value (every 2, 3 or 4 weeks) and enter a Reference airing: a date the programme actually airs on. The form shows the Next airings so you can check the rhythm is right.
Inside Advanced, Skip dates let you skip isolated days (a local holiday, a week off) without touching the schedule. All of this is explained in the periodicity section.
Schedule Start and End Date
Section titled “Schedule Start and End Date”It is possible to set a Validity Start Date and a Validity End Date for each schedule. This feature allows you to control the programme’s season. For example: if the morning magazine starts on 15 September and ends on 30 June, you can enter these dates so that:
- The programme starts recording automatically from 15 September.
- The recording stops automatically on 30 June.
- The programme disappears from the website schedule when its broadcast period ends.
Special Programmes
Section titled “Special Programmes”You can also configure a special programme, a single broadcast with a specific date and time. In the form, choose Schedule Type: Special Program and enter the Start Date and Time and the End Date and Time. This option is ideal for:
- One-off festivities or celebrations
- Municipal council meetings
- Notable events
ℹ️ Note: special schedules have hierarchical priority over regular schedules. If a special schedule overlaps with a regular schedule, only the special programme will be recorded, not the regular one. On top of that, special programmes are also recorded on holidays and public holidays.
Station for personalized links: